How to Set Up a DIY Studio for Furniture Photography and Editing?
When you’re trying to sell furniture online, the quality of your product photos can make or break a sale. Great photos create a sense of trust, showcase your product’s features, and help you stand out in a crowded marketplace. While hiring professionals might seem like the easiest route, it’s not always the most cost-effective, especially for small businesses or independent sellers.
This article will take you step by step through the process of setting up your affordable DIY furniture photography studio, from choosing the perfect space to capturing stunning images and editing them like a pro.
Choosing the Perfect Space for Your DIY Studio
The first step to setting up a DIY studio is selecting the right space. This decision is critical because it impacts everything from your lighting options to how easily you can maneuver furniture pieces during the shoot. A good space doesn’t need to be massive, but it must be functional and adaptable to your needs.
What kind of space works best?
Ideally, you’ll want a room that is at least 12×15 feet to accommodate medium-sized furniture and any necessary equipment. A high ceiling—preferably 8 feet or more—is also a plus, as it allows room for taller lighting setups and larger backdrops. Whether it’s a spare room, a garage, or a rented studio, the area should be accessible enough to bring in bulky items like tables or sofas. Wide doorways or ramps can make this process much smoother, especially for heavier pieces.
Lighting is another important factor. If you can find a space with plenty of natural light, like a room with large windows, you’ll save time and money on artificial lighting setups. However, natural light can be unpredictable, which makes spaces that can support artificial lighting (with enough power outlets and minimal reflective surfaces) more versatile in the long run.
Essential Equipment for Furniture Photography
Once you’ve secured a suitable space, it’s time to invest in the tools and equipment that will make your DIY studio functional and professional. While you don’t need to spend a fortune, having the right gear will make a significant difference in the quality of your photos.
Cameras and lenses
For beginners, an entry-level DSLR or mirrorless camera, like the Canon EOS Rebel T7 or the Sony Alpha 6000, is a great starting point. These cameras offer excellent image quality and allow for manual adjustments to capture furniture in the best possible light. If you’re working with a tighter budget, consider using a high-end smartphone, such as the iPhone 15 Pro or Samsung Galaxy S23 Ultra, which have advanced photography features.
Choosing the right lens is just as important. A versatile zoom lens can handle wide-angle shots of larger furniture and close-ups of intricate details, while a prime lens with a fixed focal length delivers sharp, high-quality images.
Stabilization tools
Keeping your camera steady is crucial for furniture photography. Tripods with adjustable heads are essential for achieving consistent angles and avoiding blur caused by shaky hands. For more complex shots, such as flat-lay images or overhead views, camera stands provide added stability and flexibility.
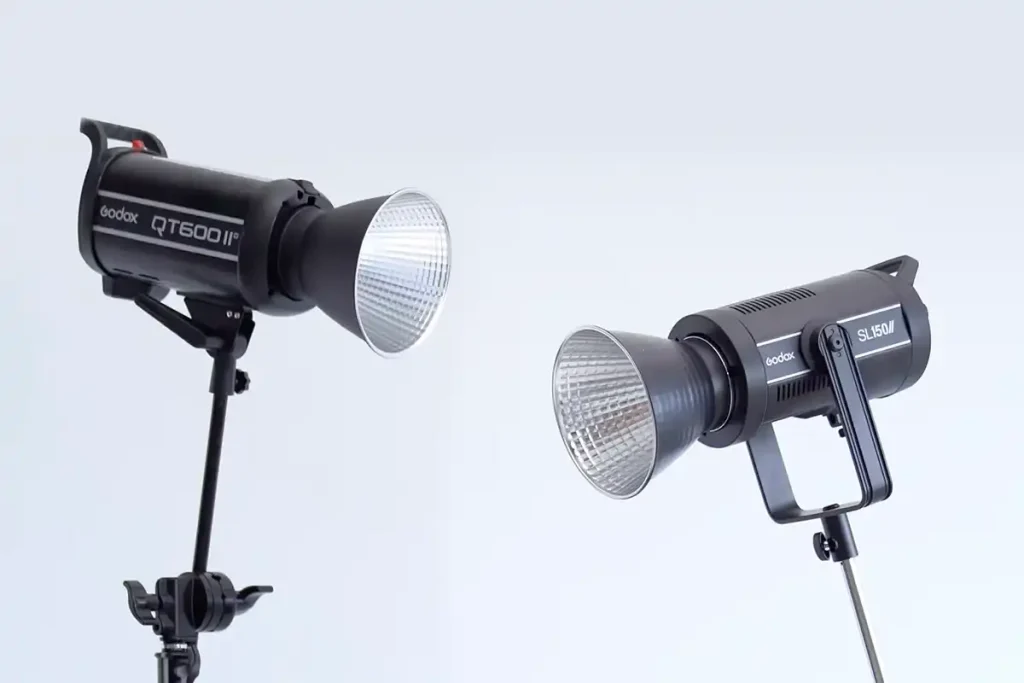
Lighting equipment
Lighting can make or break a furniture photo. If you’re relying on artificial light, invest in continuous lights for beginners or strobes for more advanced setups. Softboxes are a must for diffused, even light that reduces harsh shadows, while reflectors help fill in darker areas and bring out textures. Grids are another useful tool for directing light and creating dramatic effects.
Backdrops and props
For a clean, professional look, use seamless white paper rolls or neutral fabric as your backdrop. These options eliminate distractions and allow the furniture to take center stage. If you want to get creative, consider adding textured backdrops like faux brick or wooden panels to complement the furniture style. Small props, such as throw pillows or rugs, can also help create context and make your photos more inviting.
Techniques for Shooting Furniture
With your space and equipment ready, it’s time to focus on the actual photography process. Capturing high-quality furniture photos involves more than just pointing a camera and clicking the shutter; it requires careful planning and technique.
Before the shoot, prepare your furniture by thoroughly cleaning every surface. Dust, smudges, or fingerprints can be glaringly obvious in high-resolution images, so take the time to polish wood, wipe down metal, and vacuum fabric surfaces. Staging the furniture is equally important. Add a decorative vase, a cozy blanket, or a small stack of books to create an inviting scene—but don’t let the props overshadow the furniture itself.
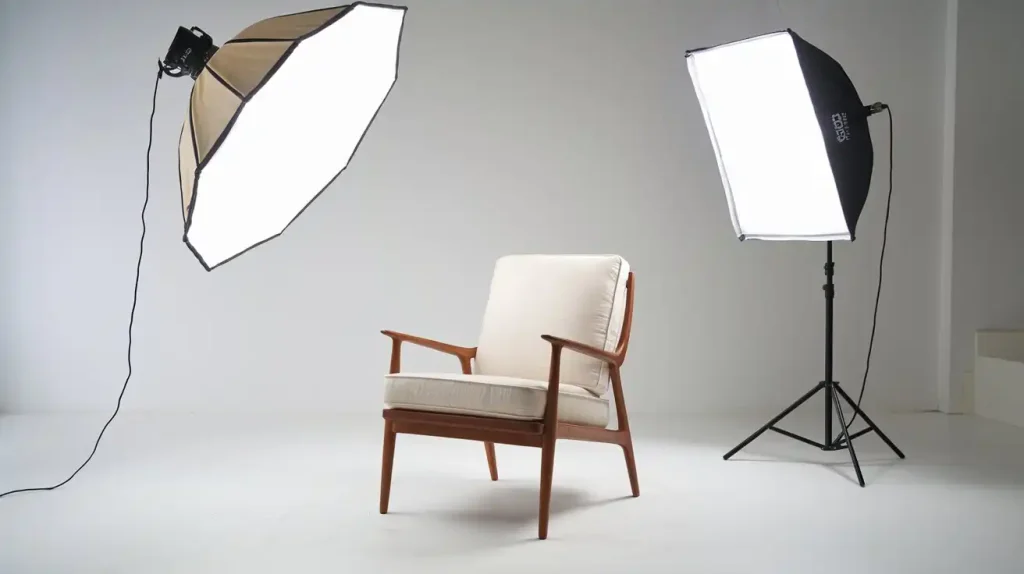
Lighting arrangements
One of the most effective setups for furniture photography is the three-point lighting technique. This involves a key light positioned at a 45-degree angle to the furniture for depth and dimension, a fill light on the opposite side to soften shadows, and a backlight to add separation and prevent the furniture from blending into the background. For those using natural light, try to shoot during the golden hours—early morning or late afternoon—when the light is soft and diffused.
Camera settings
Understanding your camera’s manual settings is key to achieving professional results. Use a narrow aperture (around f/11) to ensure sharpness across the entire furniture piece. Keep your ISO low (100-400) to minimize noise and maintain clarity. If you’re working in low light, adjust the shutter speed accordingly, but use a tripod to avoid motion blur.
Composition
Think about how you want to present the furniture. Multiple angles are essential, from straight-on shots to 45-degree perspectives and close-ups of unique features like carved wood details or upholstery textures. Experiment with leading lines, symmetry, or creative framing to make your photos stand out.
Post-Processing: Editing Furniture Photos Like a Pro
Once you’ve captured your photos, the next step is editing them to achieve a polished and professional finish. Post-processing can enhance colors, adjust lighting, and remove minor imperfections, ensuring your furniture looks its absolute best. Even in a DIY setup, mastering a few editing techniques can make your photos indistinguishable from those taken in a professional studio.
Choosing the right software
For comprehensive editing, tools like Adobe Photoshop and Lightroom are industry standards. They offer advanced controls for color correction, exposure adjustments, and retouching. For beginners or budget-conscious creators, free tools like GIMP or mobile apps such as Snapseed can still deliver impressive results.
Key editing adjustments
- Lighting and exposure: Start by correcting the brightness and contrast. Furniture should appear well-lit without washing out details or creating unnatural shadows. If the lighting in your original shot was uneven, use the Dodge and Burn tools in Photoshop to balance it out.
- White balance: Accurate white balance ensures the colors in your photo match the furniture in real life. Adjust this setting to eliminate any unwanted color casts caused by artificial lighting.
- Color correction and enhancement: Subtle tweaks to the saturation and vibrance can make wood grains pop or fabric colors appear richer. Avoid over-editing, as overly vibrant photos can look unrealistic and deter potential buyers.
- Background cleanup: Use tools like the Spot Healing Brush in Photoshop to remove blemishes or marks on the backdrop. If your backdrop wasn’t entirely smooth, consider replacing it with a digital background using selection and masking tools.
- Sharpening and detail enhancement: Highlight textures like the intricate patterns on wood or the weave of upholstery. Adjust the clarity and sharpness sliders to bring out these features, but don’t overdo it to avoid unnatural effects.
Overcoming Common Challenges in DIY Furniture Photography
DIY setups come with their fair share of challenges, but knowing how to troubleshoot can save time and improve your results.
Challenge 1: Uneven lighting or harsh shadows
Solution: Add more light sources or reposition your existing ones to create a more balanced look. Use diffusers to soften harsh lighting and avoid glare on shiny surfaces like polished wood or glass.
Challenge 2: Reflections on glossy furniture
Solution: Adjust the angle of your lights or camera to reduce reflections. You can also use a polarizing filter on your camera lens to eliminate unwanted glare.
Challenge 3: Limited space for large furniture
Solution: If your studio is small, use a wide-angle lens to capture the full piece of furniture. Just be mindful of distortion, and correct it during editing if necessary.
Challenge 4: Inconsistent color reproduction
Solution: Always shoot in RAW format, which retains more image data and makes color corrections easier during editing. A gray card can help set an accurate white balance in your camera before shooting.
Why a DIY Studio is Worth the Effort
Setting up a DIY studio for furniture photography and editing may seem daunting at first, but the rewards are well worth the effort. By taking control of your photography process, you can save money, build valuable skills, and ensure your products are presented exactly the way you envision.
With the right space, equipment, and techniques, you can create stunning images that rival professional work. Plus, the flexibility of a DIY setup allows you to experiment, refine, and perfect your process over time. In an increasingly competitive online marketplace, high-quality visuals are no longer optional—they’re essential.

Nazmul Hasan
https://furniturephotoediting.comCreative content writer, blending information with engaging narratives