How to Take Product Photos Without Natural Light?
High-quality product photos are essential for driving online sales. They help potential customers get a clear understanding of what they’re purchasing and can significantly affect their buying decisions. However, achieving professional-looking product photos can be challenging when you don’t have access to natural light, which is often considered ideal for photography.
This article will walk you through the process of taking high-quality product photos without relying on natural light, covering everything from lighting setup to camera settings and post-processing techniques.
Why Artificial Lighting is Essential for Product Photography?
Natural light provides soft, diffuse light, which makes the products look their best. However, natural light comes with a host of challenges, especially for online sellers who need consistency in their images. Cloudy days, time of day, and seasonal changes can all affect the availability and quality of natural light, leading to unpredictable results.
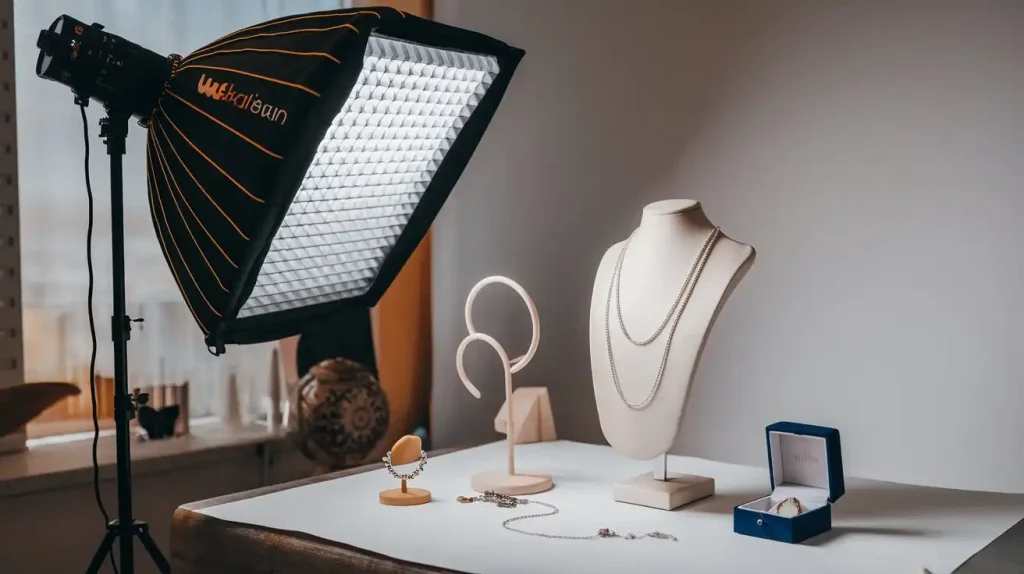
That’s where artificial lighting comes in. It allows you to take full control over the lighting conditions in your photo studio, ensuring consistent and professional results no matter the time of day or weather. Artificial light also opens up creative possibilities, such as controlling shadows and highlights, and adjusting the warmth of the light to match your brand’s aesthetic.
What Types of Artificial Lighting You Can Use for Product Photography
Artificial lighting can be broken down into two primary types: continuous lights and strobe lights. Each has its advantages and applications in product photography.
Continuous Lighting
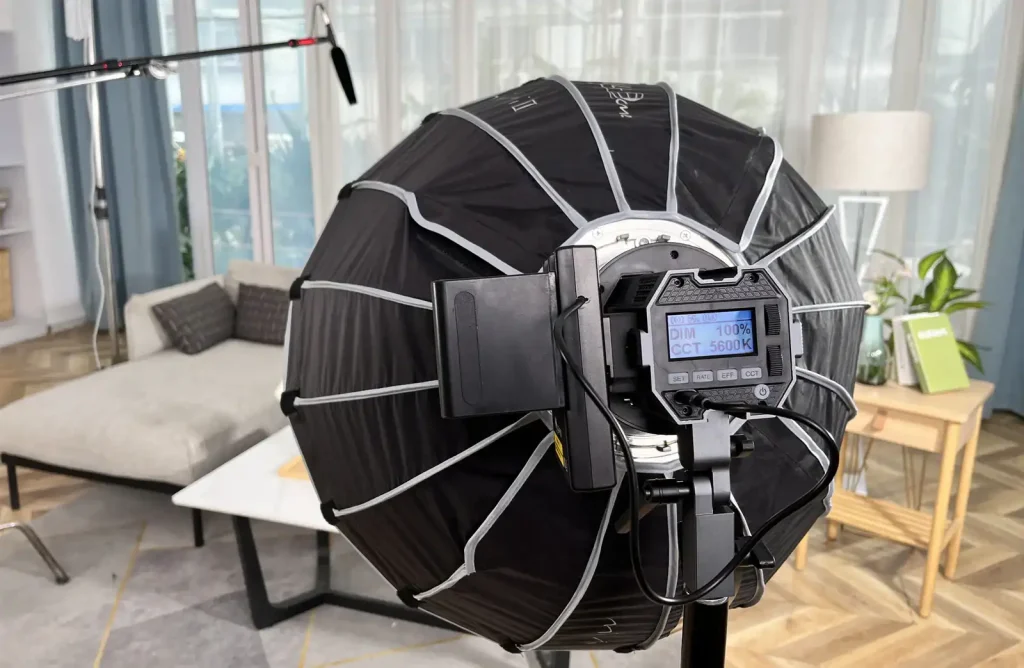
Continuous lights, also known as hot lights, stay on throughout the photo shoot, offering a real-time preview of how the light interacts with the product.
There are several types of continuous lights commonly used in product photography:
- LED Panels: LEDs provide a soft, even light, making them ideal for shooting products without harsh shadows.
- Fluorescent Tubes: Often used for budget-friendly setups, fluorescent tubes emit a soft light but can sometimes result in a greenish hue.
- Tungsten Bulbs: These lights emit a warm light, which can be ideal for products that look better with a cozy, golden glow, such as jewelry or food.
Despite their benefits, continuous lights are typically less powerful than strobes, which means they may not be the best option for large or highly reflective products.
Strobe Lighting
Strobe lights, also known as flash lights, provide a brief but powerful burst of light, which is ideal for achieving sharp, high-quality images. Strobe lights are preferred by professional photographers for their higher power output and more accurate color temperature.
Unlike continuous lights, strobe lights do not offer a constant preview of the image, so you must rely on your camera’s settings and modeling lights to adjust the light direction.
How to Achieve Professional Results with Light Modifiers
No matter which type of artificial light you choose, you’ll want to use light modifiers to ensure the light is soft, even, and flattering for your products.
Diffusers
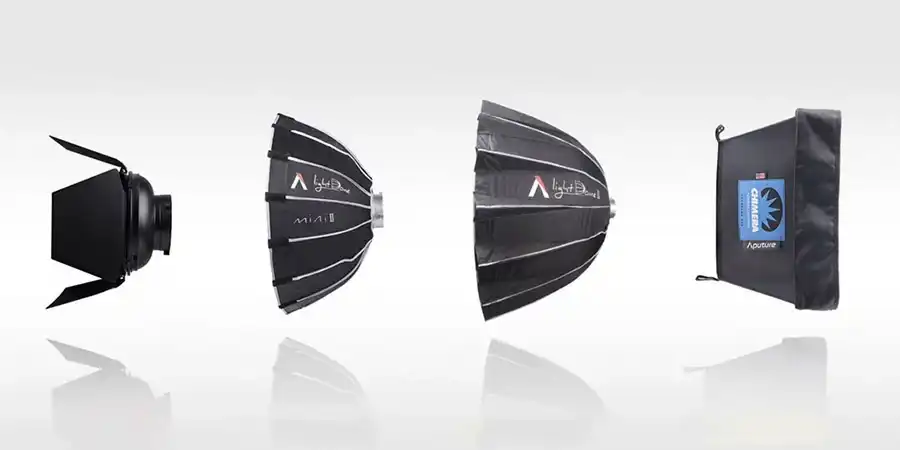
A diffuser softens the light by scattering it, which helps eliminate harsh shadows and produces a gentle, even illumination. This is especially useful for shooting products like cosmetics, jewelry, and glassware, where shadows and reflections can be problematic.
Common diffuser types include:
- Softboxes: These are large, fabric boxes that diffuse the light and provide a soft, uniform effect.
- Umbrellas: Reflective umbrellas can bounce the light back onto the product, creating a softer and more even distribution of light.
- DIY Diffusers: If you’re on a budget, you can create your own diffuser using items like a white sheet or a piece of parchment paper.
Reflectors
Reflectors are used to bounce light back onto your product, filling in shadows and creating a more even exposure. A reflector can help eliminate the harsh contrast that sometimes results from a single light source.
If you don’t have access to professional reflectors, you can use simple items like a foam core board or any white surface to bounce the light effectively.
Light Tents
Light tents, or lightboxes, are great tools for achieving consistent, soft light for small products. These tents are typically made of translucent fabric that diffuses the light while reducing shadows and reflections. For small products like jewelry, electronics, or beauty items, a light tent can be a quick and effective way to get professional-looking photos without a lot of setup.
How to Set Up a DIY Studio for Artificial Lighting
While you don’t need to rent a professional studio space, setting up your own DIY studio at home can make all the difference in your product photography.
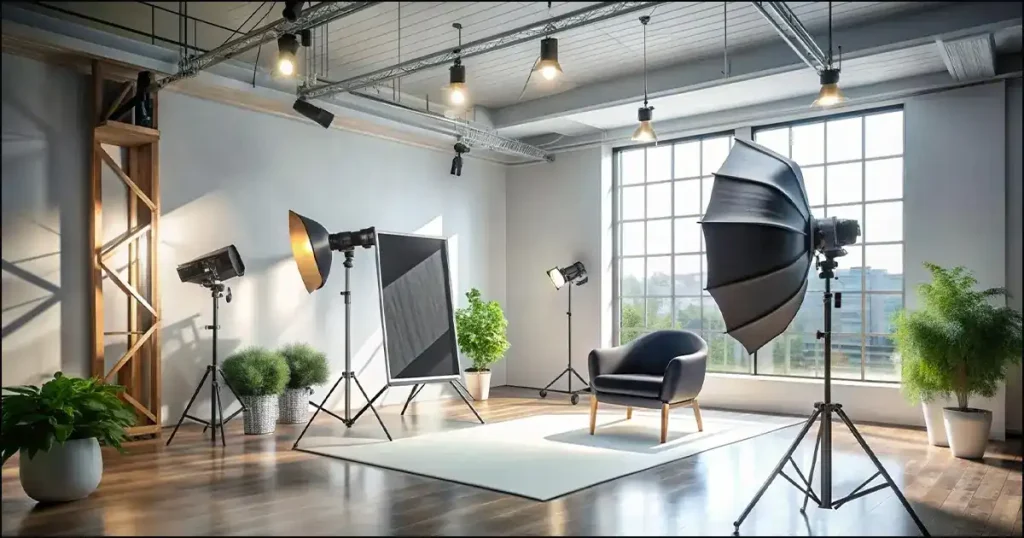
Choosing a Space
You’ll need a space where you can control the lighting and avoid distractions in the background. A small, clean room with enough space to move around and set up your lights is ideal. You’ll also want to make sure there is enough room to set up a backdrop and a table or surface for your products.
Backdrop Setup
You want a background that complements the product without drawing attention away from it. Neutral colors like white, gray, or beige are the most common choices, as they don’t interfere with the product’s colors.
You can use a sweep—a seamless background that curves from vertical to horizontal. For example, you could use a white sheet, seamless paper roll, or fabric to create a smooth, uninterrupted backdrop.
Positioning Your Product
Once your backdrop is set up, it’s time to position your product. There are three main types of product photography styles:
- Product Photos: These are the classic shots of a product against a plain, neutral background. They should focus on the details of the product with minimal distractions.
- Lifestyle Photos: These shots show the product in use, often in a real-life setting. They help customers visualize how the product fits into their lives.
- Flat Lay Photos: A flat lay is when the product is arranged on a flat surface, often shot from above. This style works well for smaller products like jewelry, clothing, or stationery.
Each of these styles requires careful attention to lighting and composition, so experiment with different setups to see what works best for your products.
Essential Equipment and Camera Setup for Product Photography with Artificial Light
The right equipment and camera settings can make all the difference in the quality of your photos.
Tripods
A tripod is an essential tool for product photography. It stabilizes your camera and eliminates the possibility of shaky hands, which can lead to blurry photos. When shooting products, you’ll want to make sure your camera is perfectly still to capture the sharpest possible image. Investing in a quality tripod will improve the overall sharpness of your product photos.
Camera Settings
If you’re using a DSLR or a mirrorless camera, shooting in manual mode will give you the most control. Here are the key settings to adjust:
- Aperture (f-stop): For product photography, it’s usually best to use a higher f-stop (around f/8 to f/16) to keep the entire product sharp and in focus.
- ISO: In artificial lighting, it’s important to keep your ISO as low as possible (e.g., ISO 100 or 200) to avoid introducing noise into the image.
- Shutter Speed: A slower shutter speed (around 1/100 or slower) can help you capture more light, but make sure to use a tripod to avoid motion blur.
- White Balance: If your lights give off a warm or cool tone, adjust your white balance settings accordingly. Using a gray card can help you achieve accurate color balance by setting a custom white balance.
Using gridlines on your camera can also help you compose your shots according to the rule of thirds, ensuring your product is placed in a visually pleasing way.
Post-Processing Tips for Product Photos
The goal of post-processing is to enhance your images, correct any lighting issues, and bring out the true colors of your products.
Basic Adjustments
After opening your photo in editing software, the first adjustments should be focused on correcting any exposure or color issues.
- Exposure: If your product appears too dark or too light, adjust the exposure slider to brighten or darken the image. Be careful not to overexpose highlights or lose detail in shadows.
- Contrast: Adjusting the contrast helps add depth to your photo. For most product shots, increasing the contrast slightly can improve the visual appeal.
- White Balance: If your artificial lighting gave your product a yellowish or bluish hue, adjusting the white balance will correct the color temperature.
- Sharpness: Use the sharpening tool to enhance fine details of the product. This is particularly important for close-up shots, like those of jewelry or small electronics.
Removing Blemishes and Imperfections
Even with the best lighting setup, product photos can sometimes have minor imperfections like dust, smudges, or wrinkles.
- Use the spot removal tool or clone stamp tool in Photoshop to remove any unwanted spots or blemishes on the product.
- In Lightroom, use the healing brush to correct minor imperfections without affecting the surrounding areas.
If you’re photographing items like clothing or textiles, you may also need to smooth out wrinkles or folds. The liquify tool in Photoshop can help reshape fabrics for a cleaner, more professional look.
Enhancing the Background
In some cases, you may want to enhance the background of your product photos to make them look cleaner or more appealing.
- Blurred Backgrounds: If the background is too distracting, use the blur tool to create a shallow depth of field effect, making the product the focal point of the image.
- Background Replacement: If you’re not satisfied with the current background, you can use Photoshop’s masking tools to select the product and place it against a different backdrop.
Color Grading and Final Touches
Color grading involves adjusting the shadows, mid tones, and highlights to create a specific mood or tone. For example, you might apply a slightly warm tone for a cozy, inviting feel or a cool tone for a sleek, modern look.
Finally, apply any finishing touches, such as cropping, adjusting the exposure further, or removing any unnecessary elements from the frame.
Final Thoughts
Taking product photos without natural light can seem daunting at first, but with the right equipment, lighting setup, and post-processing techniques, you can create stunning product images that enhance your online store’s visual appeal. Artificial lighting opens up many possibilities, allowing you to shoot at any time of day and still achieve consistent, high-quality results.