How to Take Pictures of Furniture: The No-BS Guide to Photos That Pop
When it comes to selling or showcasing furniture, snapping a quick photo just doesn’t cut it. Furniture photography isn’t a casual “point-and-shoot” game—it’s a craft that can make or break a sale. Think about it: furniture is big, often expensive, and deeply personal. People aren’t just buying a chair—they’re buying the cozy mornings, the dinner parties, the sense of home that comes with it. And your photos? They’re the first impression. A well-lit, carefully staged image tells a story, shows off craftsmanship, and builds trust in an instant. Whether you’re listing a vintage nightstand on Facebook Marketplace or building an online store, great furniture photos can move your pieces faster, earn you more, and give your work the attention it deserves.
This guide will show you how to capture furniture the right way—whether you’re using a DSLR or just your phone, working with natural light or making do with a lamp and some hustle. Let’s get into it.
Why Furniture Photography Isn’t Just Point-and-Shoot
The Stakes Are Higher Than You Think
Furniture’s not a $5 t-shirt. It’s big, it’s personal, it’s the thing people build their lives around. A bad photo—like that blurry one I took of a dresser years ago, all shadows and weird angles—can tank its vibe. I learned the hard way: Buyers judge fast. A crisp, bright shot of that same dresser sold it in two days. Studies say listings with top-notch photos move 50% quicker online, and I believe it. Your job? Make them see the buttery finish on that oak shelf or the plush give of that sofa cushion. It’s not just a picture-it’s a promise.
Two Ways to Tell the Story
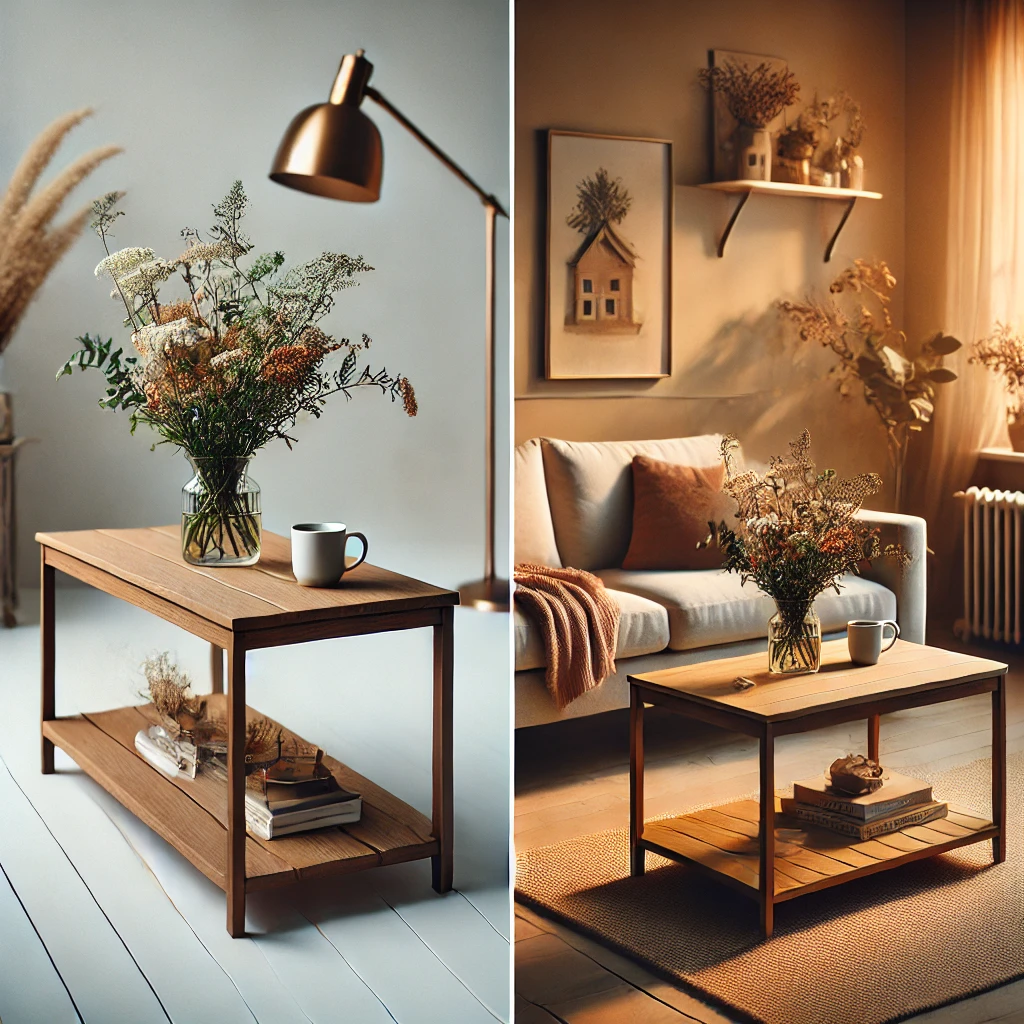
Furniture photos come in two flavors, and each has its own groove:
- Product Shots: Imagine a lone table on a crisp white background, no distractions—just pure, clean lines. This is what e-commerce craves—Etsy, Amazon, your own site. It’s all about the piece, nothing else.
- Lifestyle Shots: Now picture that table in a sunny dining room, surrounded by mismatched chairs, a vase of wildflowers on top. This is the dreamy stuff—perfect for Instagram, your blog, or a client pitch. It’s furniture in action, tugging at heartstrings.
I’ve done both with nothing but a phone and some hustle. You can too—or call a pro if the budget’s there. Up to you.
What You’re Chasing
Every photo needs to nail at least three things:
- The Details: That hand-carved edge, the brass drawer pulls, the way the fabric catches the light—don’t let those fade into the background.
- The Size and Purpose: Is it a tiny side table or a hulking sectional? Does it fold out or store stuff? Show it.
- The Feels: A great shot doesn’t just say “here’s a chair”—it says “imagine sipping coffee in this chair every morning.” That’s the hook.
Getting Ready: The Prep That Pays Off
Pick a Piece Worth Showing Off
Not every chunk of furniture is ready for its close-up. Start with something that’s in decent shape—no giant gouges or faded patches unless that’s the charm (shabby chic fans, I see you). I once tried photographing a scratched-up nightstand, and it looked sad until I sanded it down and oiled it up. Find the star quality: Is it the chunky legs on that mid-century sofa? The glossy black paint on that cabinet? That’s your hero—build the shot around it.
Clean It, Stage It, Love It
Before the camera comes out, give your piece some TLC. Grab a damp cloth and wipe off the dust—don’t skip the crevices; they show up in photos like uninvited guests. For wood, a dab of furniture polish brings out the shine (I swear by Old English). Metal or glass? A splash of vinegar on a rag cuts through smudges. Now, staging:
- Keep It Simple: Drape a white bedsheet over a wall or pin up a $5 roll of poster board for that clean, pro look. This is your go-to for selling online.
- Add Some Life: For a cozy feel, toss in a rug, a stack of books, or a fern. I once styled a desk with a vintage lamp and a notebook—it sold in hours because it looked lived. Just don’t overdo it—too much stuff, and your furniture gets lost.
Where to Shoot: Space Is Your Friend
The spot you pick can make or break the shot. Here’s what’s worked for me:
- Inside: A room with a big window is gold—I’ll take soft light over a dark corner any day. Push the couch away from the wall so you can circle it, and shove the kids’ toys out of sight.
- Outside: A shady porch or backyard on a cloudy day gives you that even, flattering glow. I shot a wicker chair out there once, and the texture popped like crazy. Avoid midday sun—it’s like shining a spotlight on every flaw.
You need elbow room—10-15 feet to step back and play with angles. Cramped spots turn into a wrestling match with your camera.
The Tools: What You Need (and What You Don’t)
Cameras: Fancy or Not, You’ve Got Options
You don’t need a pro studio to pull this off—I’ve seen it all. Here’s the scoop:
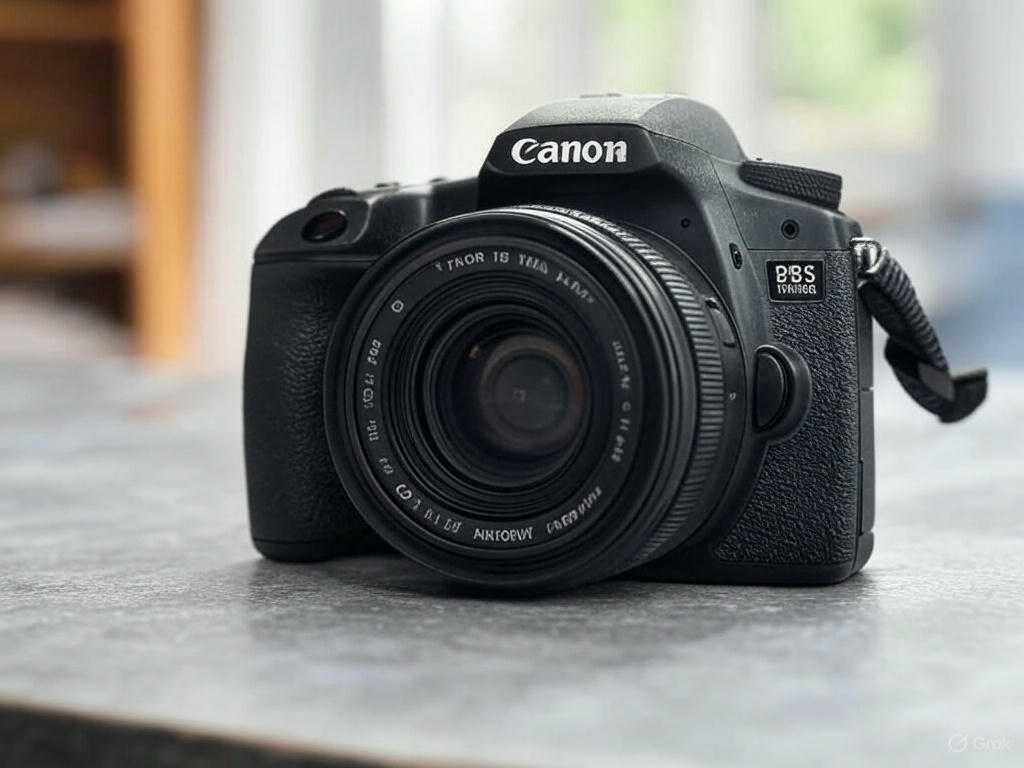
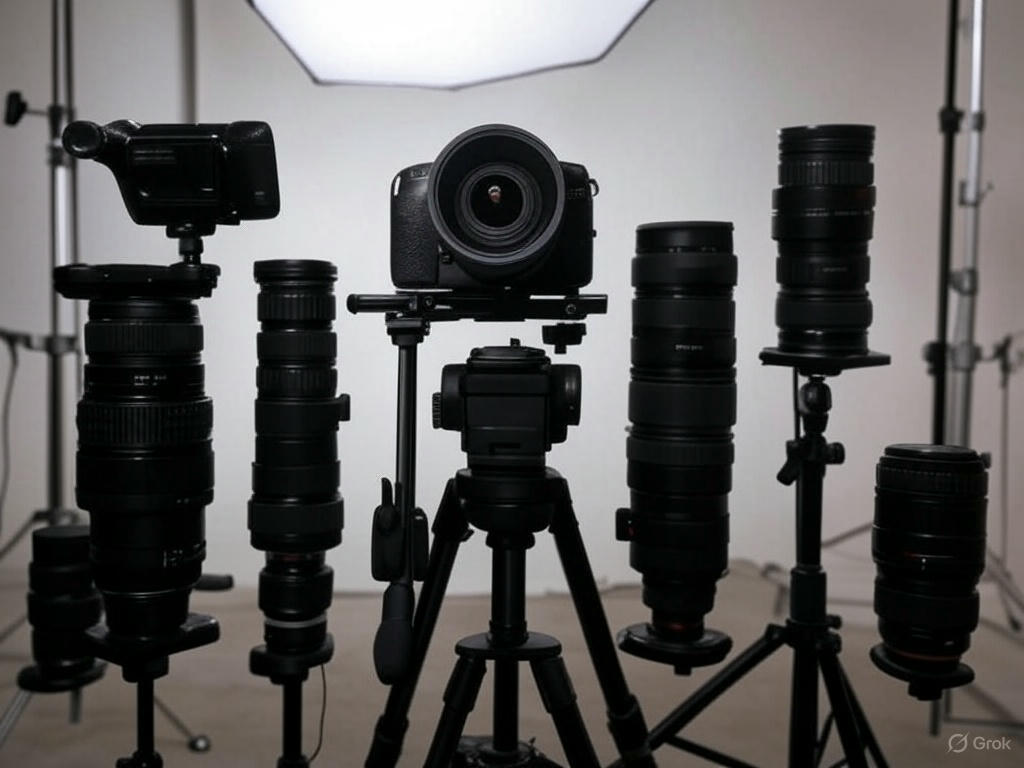
- DSLR or Mirrorless: Something like a Canon EOS Rebel T7 (around $500) or a Nikon Z50 ($850) gives you crisp control. I borrowed one early on and fell in love with the clarity.
- Your Phone: Don’t sleep on it. My iPhone 12 (or any phone with 12+ megapixels) has churned out shots that rivaled my old camera, especially with good light. Newer models like the Galaxy S24 are even sharper.
The real trick isn’t the gear—it’s how steady you hold it and how you tweak the settings. We’ll get there.
Lenses: Zoom In or Step Back
Lenses change the game:
- Wide-Angle (24-35mm): This fits a whole dining set into the frame, even in a small room. I used one on a sectional once—just watch the edges; too wide, and it warps like a funhouse mirror.
- Macro (50-100mm): For zooming in on the good stuff—think wood knots or a quilted headboard. It’s like putting a magnifying glass on craftsmanship.
Phone folks: Grab a $20 clip-on lens kit from Amazon. I’ve used ‘em—they’re not perfect, but they get close.
Lighting: The Stuff Dreams Are Made Of
Light’s where the magic happens. Here’s what I lean on:
- Natural Light: It’s free and forgiving. A big window at 8 a.m. or a cloudy afternoon bathes furniture in a soft glow—no harsh lines.
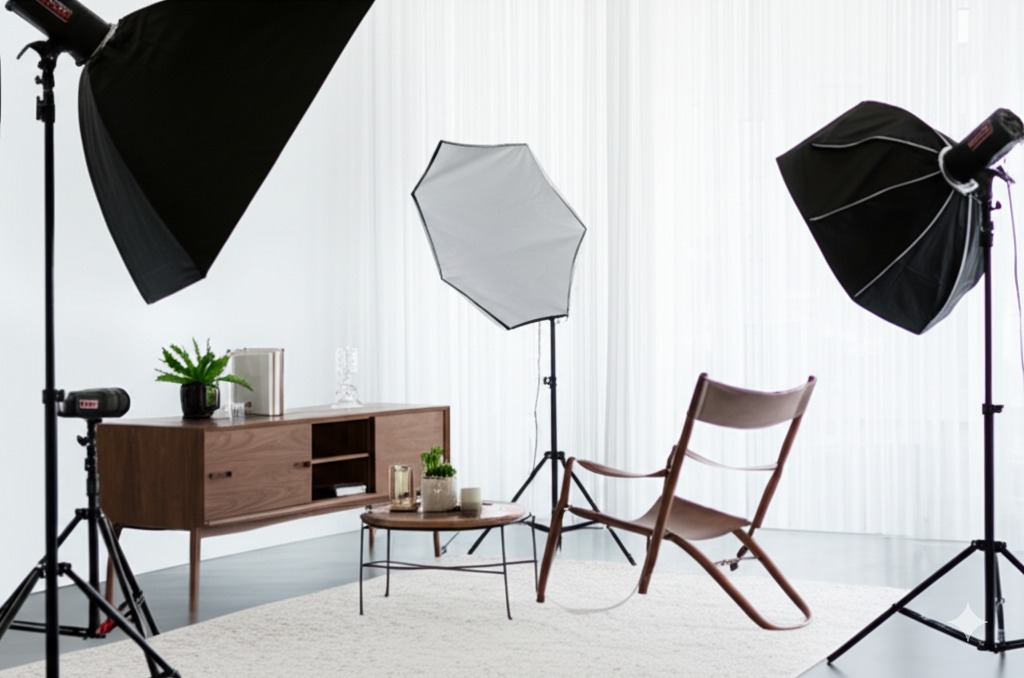
- Artificial Light: A $50 softbox (think Neewer brand) or a $30 ring light evens out indoor shots. I’ve rigged a desk lamp with a white t-shirt over it in a pinch—works like a charm. Grab a $10 reflector (or wrap foil on cardboard) to bounce light into dark spots.
Bare bulbs? Nope. They’re too stark—your furniture deserves better.
Tripods: Don’t Skip This
I used to think I could hold steady. Then I saw the blurry mess I made in low light. A $25 tripod (AmazonBasics is solid) changed everything—sharp shots, every time. Get one with adjustable legs and a phone clip if you’re mobile-only. It’s not sexy, but it’s a lifesaver.
Backdrops and Props: Set the Scene
- Backdrops: A white sheet pinned up or a $5 roll of seamless paper screams “pro.” I’ve used gray or beige too—warmer, less clinical.
- Props: A plant, a cushion, a dog-eared novel—these hint at a story. I styled a bookshelf with a ceramic mug once, and it felt like home. Keep it sparse—your furniture’s the star, not the extras.
Camera Settings: The Nuts and Bolts
Aperture: Playing With Focus
Aperture’s like the aperture of your eye—it decides what’s sharp and what’s fuzzy:
- Wide Open (f/2.8 or f/4): The background melts away, spotlighting that rocking chair like it’s on a red carpet. I love this for artsy shots.
- Narrowed Down (f/8 or f/11): Everything’s in focus—great for showing off a whole dresser, top to bottom.
I’ll snap a few of each to see what clicks—give it a whirl.
Shutter Speed: Freeze or Flow
This controls how long light hits the sensor:
- Fast (1/200s or quicker): No blur, even if your hands wobble. Perfect for bright rooms.
- Slow (1/30s or less): Drinks in more light for shadowy spots, but you’ll need that tripod—I learned that after too many shaky disasters.
Check your test shots. Fuzzy? Speed up. Too dark? Slow down and stabilize.
ISO: Brightening the Mood
ISO’s your light dial:
- Low (100-200): Clean and crisp—use it outside or near a sunny window. My go-to for daylight.
- Higher (400-800): Cranks up brightness indoors, but past 800, it gets grainy—like static on an old TV. I stick to the lowest that works.
Too dim? Nudge it up. Speckled mess? Pull it back.
White Balance: Keeping Colors Honest
Ever had a photo turn orange under a lamp? That’s white balance messing with you. Match it to your light:
- Daylight (5500K): For sunny shots or window light—keeps blues and greens true.
- Tungsten (3200K): Warms up those yellowish bulbs indoors.
I set it manually now, but “Auto” works fine—tweak it later if it’s off. A $10 gray card’s my secret weapon for nailing it on the spot.
Lighting: Where the Wow Happens
Natural Light: The Sun’s Your Sidekick
Nothing beats the sun when it’s playing nice. Drag that table near a window at 7 a.m. or 5 p.m.—the light’s soft, wrapping around curves without glaring. Sheer curtains tame it if it’s too punchy. Outside, I wait for clouds—they’re like nature’s diffuser. Midday sun’s a bully—harsh shadows, washed-out colors. Skip it.
Artificial Light: You’re the Boss
No sun? You’ve got this. Set a softbox 3-5 feet away, tilted 45° to one side—it’s like a gentle hug of light. Add a second one behind or bounce light with a reflector to chase off shadows. I’ve used a $30 ring light for a cool halo effect—great for small stuff like lamps. Move things around until the furniture looks alive, not flat.
Textures and Finishes: Show Off the Goods
- Side Light: Angle a lamp 30°-60° off the side—wood grain pops, fabric weaves dance. I did this with a pine bench, and it looked carved from gold.
- Backlight: A glow behind the piece adds drama—perfect for glass tables or metal frames. Shield your lens from flare with your hand or a book.
Matte finishes love soft light; shiny ones crave a controlled sparkle. Play with it.
Angles and Composition: Frame It Like a Painter

Angles: Work the Room
One angle’s lazy—give ‘em the full tour:
- Front: Straight-on, no fuss—shows symmetry and shape.
- Three-Quarter: Halfway between front and side—depth kicks in, like the piece is strutting its stuff.
- Close-Up: Zoom in on the money shots—brass knobs, stitched seams, a chipped paint detail if that’s the charm.
I’ll take 15-20 shots, circling like a hawk. You’ll find gold in the mix.
Rule of Thirds: Eye Candy, Not Stiff
Imagine a tic-tac-toe grid over your viewfinder. Slide the furniture’s edge—or that killer armrest—onto a line or crossing point, not smack in the middle. It’s less “mugshot,” more “I want to live here.” I used this on a bookshelf once—off-center with a plant—and it felt alive. Apps can overlay the grid until you feel it naturally.
Scale: Don’t Leave ‘Em Guessing
A chair alone could be dollhouse-sized or massive—add context. Plop a coffee mug on that table, lean a broom against that cabinet. I shot a stool with a cat curled up on it once—sold it in a day because people got the size. Wide lenses can stretch things funky, so step back 10-12 feet and zoom in a bit instead.
The Shoot: Your Game Plan
Step 1: Build the Set
Lay out your backdrop—pin that sheet tight, no wrinkles. Position the furniture—give it breathing room. Set your lights, check for pesky reflections (glass tops love to mirror everything). I’ll walk the space, kicking stray socks out of frame. This is your stage—own it.
Step 2: Test the Waters
Snap a quick one. Too dark? Crank the ISO or widen the aperture. Shadows swallowing details? Soften the light or bounce some in. Shaky? Tripod time. I check on my laptop if I can—phone screens lie about sharpness. Tweak until it feels right.
Step 3: Shoot the Works
Get the full shot—whole piece, clean and proud. Then a detail shot—zero in on texture or hardware. Finish with a lifestyle shot—style it with a blanket or lamp. Move around—crouch low, climb a chair, shoot from the side. I keep my settings locked so the batch looks like a family, not strangers.
Editing: The Final Glow
Tools: Pick Your Flavor
- Free: GIMP’s my old faithful—cropping, color fixes, all gratis. Photopea’s slick too.
- Paid: Lightroom ($10/month) for bulk edits—tweak 20 shots at once. Photoshop ($20/month) for surgery-level fixes.
- Phone: Snapseed’s my road warrior—fast, free, and punchy.
Start where you’re comfy—I grew into the big guns over time.
Basics: Clean It Up
Crop out that corner of the rug that snuck in. Straighten the horizon—tilted shots feel off. Nudge brightness up 15-25% if it’s dull, add 5-10% contrast for depth. I keep it subtle—overcooked edits look cheap.
Next-Level Fixes: Make It Sing
Dust on the lens? Clone it out—takes 10 seconds. Glare on a mirror? Soften it with the healing brush. Colors wonky (that blue chair looks green)? Slide the hue until it’s dead-on. I edited a red table once—took it from tomato to ruby in two clicks. Don’t go nuts—real beats fake every time.
Save It Right
- Online: JPEG, 1500-2000px wide, 72 DPI—loads fast, looks sharp.
- Print: PNG, 300 DPI—crisp for flyers or frames.
Name ‘em smart—“walnut_desk_side.jpg”—saves headaches later.
Special Cases: Furniture With Attitude
Big Boys: Sofas, Tables, Hutches
Step back—way back. A wide lens squeezes it in, but I’ll walk 15 feet if I can to keep it real. Show the tricks—extend that table leaf, open that cabinet door. I shot a sectional once, sprawled out with pillows—it flew off the listing.
Little Guys: Chairs, Lamps, Stools
Pop ‘em on a plain backdrop—white or gray keeps it tight. Zoom in on the details—curved arms, a fringed shade. I put a teacup next to a lamp once—scale clicked, and it sold fast.
Shiny Stuff: Glass, Metal, Mirrors
Reflections are the beast here. Angle lights 45° off the surface—cuts glare like a knife. I snagged a $20 polarizing filter—twist it, and the shine behaves. For glass, a dark cloth behind stops the see-through mess.
Screw-Ups to Skip
Lighting Goofs
Harsh shadows make a $200 table look like $20. Too bright, and the color’s gone. I test every angle—soft, even light’s the sweet spot.
Background Chaos
A pile of laundry or a loud wallpaper kills the vibe. I’ve cleared whole rooms to keep it clean—worth it. Sheet up if you’re lazy.
Editing Whiplash
One shot’s warm, the next’s icy—looks sloppy. I edit in batches, same sliders, same vibe. Consistency’s king.
Purpose Matters: Where’s It Going?
E-Commerce: Straight to the Point
White backdrop, bright light, every angle—front, back, side, top. Amazon demands 1000px+; Etsy loves squares. I keep it raw—no filters, just facts.
Social Media: Stop the Scroll
Bold angles, rich colors, cozy props—I’ll shoot a chair with a book and a latte, edit it punchy. Square (1080x1080px) for posts, vertical (1080x1920px) for Stories. #FurnitureFinds gets eyes on it.
Portfolios or Blogs: Paint a Picture
Stage it—a bed with rumpled sheets, a table set for two. Soft light, muted tones, a vibe (think rustic or sleek). I shot a desk with a typewriter once—clients ate it up.
Wrap It Up
Here’s the deal: Amazing furniture photos come down to grit and a few good moves. Scrub that piece until it shines. Flood it with light that flatters. Frame it like you mean it. Polish it up without losing the soul. I’ve turned thrift-store trash into treasure with these steps—no fancy studio, just heart. Start now—drag that ottoman into the light, snap away, mess up, try again. You’ll get there, and when you do, drop me a line with your best shot. I’m rooting for you.