Furniture Photography Props and Editing Techniques Guide

Furniture photography is a blend of art and strategy, essential for showcasing pieces in their best light, whether for e-commerce platforms or marketing campaigns. With the right props and editing techniques, ordinary furniture images can transform into compelling visuals that drive sales and engagement. This article explores the tools, techniques, and strategies needed to elevate your furniture photography game, covering everything from selecting props to mastering advanced editing.
What’s the Importance of Furniture Photography for E-Commerce
In the competitive world of furniture retail, images often determine a customer’s buying decision. A well-photographed piece tells a story, creating a connection with potential buyers. For instance, an elegant chair staged with a cozy throw blanket and soft lighting invites a sense of comfort and style, making the product more relatable and desirable.
Key elements of good furniture photography include accurate representation, creative composition, and excellent technical quality. An image that fails to capture the product’s details, such as texture or craftsmanship, can result in dissatisfied customers and returns. On the other hand, an aesthetically pleasing photo can increase conversions by up to 40%, according to a 2023 Shopify report.
Essential Furniture Photography Props
Props play a pivotal role in furniture photography, helping to set the mood and provide context. A sofa in an empty room might look stark, but add a plush rug, a couple of chic throw pillows, and a warm table lamp, and suddenly, the image resonates with life.
Backgrounds and Settings
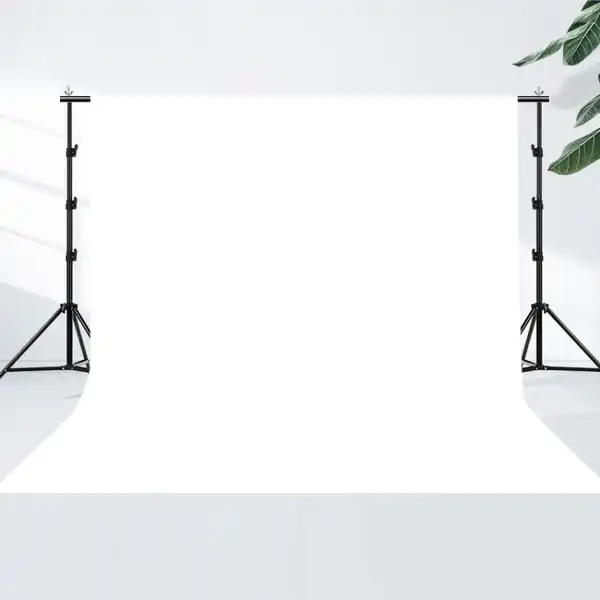
The choice of background significantly impacts the final result. A plain white background is ideal for e-commerce sites, where the focus needs to remain solely on the furniture. Conversely, styled settings—like a modern living room or a rustic outdoor patio—can showcase the product’s versatility. Seamless paper rolls or fabric backdrops provide professional results and cost as little as $20 to $50. For higher budgets, consider digital backdrops, which offer infinite customization.

Complementary Décor
Adding simple, tasteful décor can elevate furniture images without overshadowing the main product. A mid-century dining table, for example, can be styled with a vase of fresh flowers, a stack of books, or elegant dinnerware to tell a story of sophistication. The key is balance: props should enhance, not dominate, the frame.
Lighting Equipment
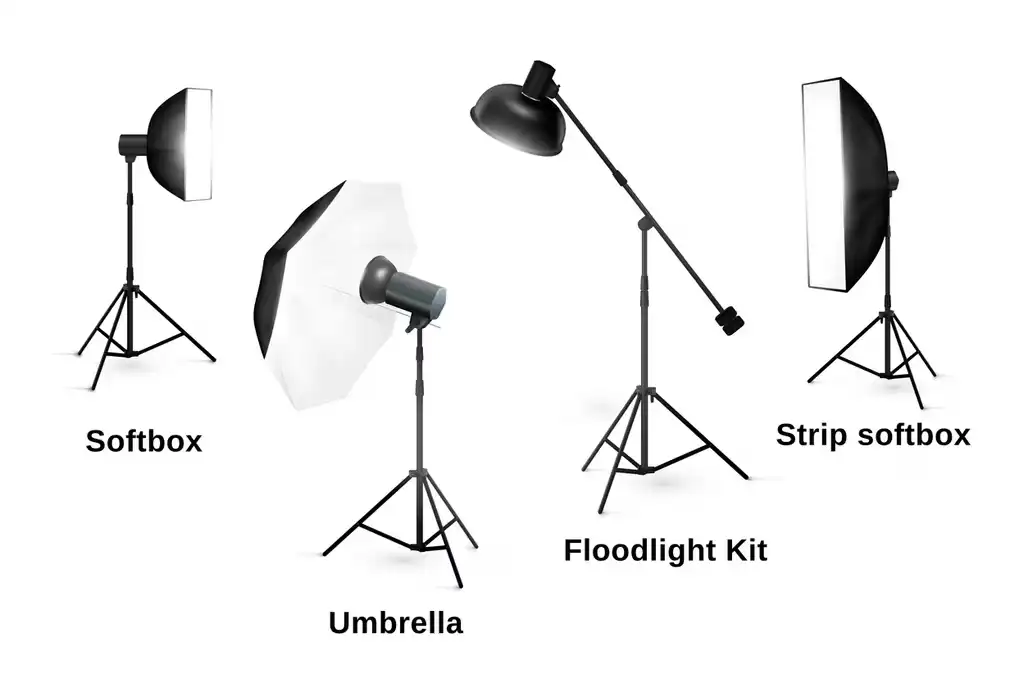
Lighting is one of the most critical aspects of furniture photography. Softbox lights and reflectors create even, flattering illumination, minimizing harsh shadows. Natural light can be a great alternative, especially when shooting in outdoor spaces or near large windows. A decent lighting kit, including a softbox and reflector, can be purchased for as little as $100 and can dramatically improve photo quality.

Furniture Accessories
Accessorizing furniture with everyday items helps potential buyers imagine the product in their own spaces. For instance, staging a bed with neatly arranged pillows, a throw blanket, and a bedside lamp conveys comfort and usability. For smaller furniture pieces like side tables or stools, objects like books, small plants, or even coffee mugs can add a personal touch.
Surfaces and Floors
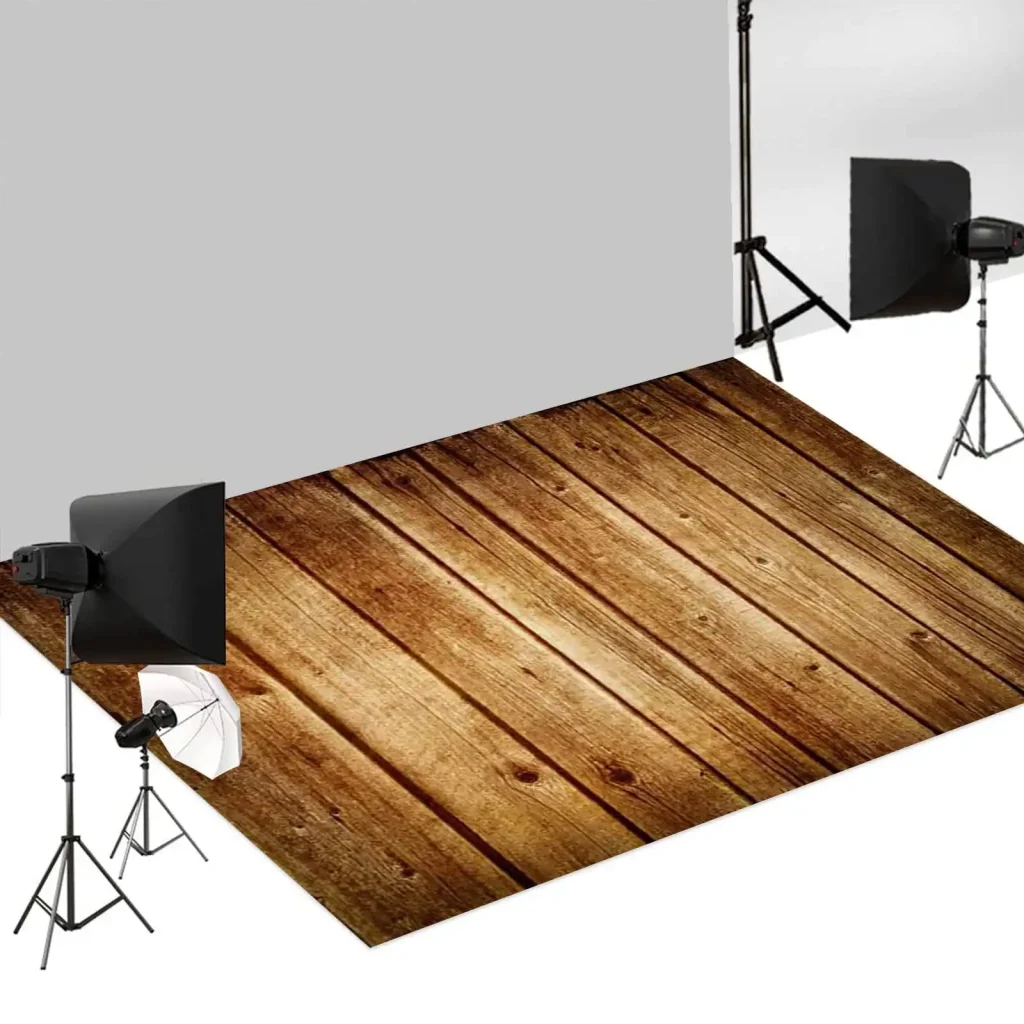
The floor beneath the furniture can either enhance or detract from the image. A wooden floor, for example, works wonderfully for rustic or vintage furniture, while a polished concrete floor suits modern or industrial pieces. Investing in portable flooring panels allows for a variety of looks, with prices ranging from $50 to $150 depending on the material.

Photography Techniques for Furniture E-Commerce Images
While props set the stage, technical skills ensure the furniture looks its best. A solid understanding of camera settings, composition, and staging transforms amateurish images into professional-grade shots.
Camera Setup and Angles
Choosing the right camera and lens is crucial for capturing furniture details. A DSLR or mirrorless camera with a wide-angle lens works well for larger pieces, providing a full view without distortion. For close-ups, a prime lens (like a 50mm) ensures crisp details.
Optimal angles vary by product:
- Front-facing shots showcase overall design.
- Side angles highlight structure and depth.
- Top-down views are ideal for flat furniture like coffee tables.
For example, photographing a modern sofa might involve a slightly lowered angle to emphasize its comfort and build quality.
Framing and Composition
The best furniture photos follow composition rules like the rule of thirds, symmetry, and depth of field. Placing the furniture slightly off-center and ensuring the background complements rather than competes can create visually engaging shots. A shallow depth of field, achieved by adjusting the aperture (e.g., f/2.8 or f/4), helps focus attention on the furniture while subtly blurring the background.
Staging Tips
When arranging furniture and props, avoid over-cluttering the scene. The goal is to highlight the furniture’s features while suggesting its practical use. For example, a dining table can be staged with a simple centerpiece and a set of plates, leaving enough space to highlight its surface texture. Similarly, chairs can be placed at varying angles to emphasize their versatility.
Editing Techniques for Furniture Photography
Photography is only half the battle; editing transforms raw images into polished, professional visuals. With modern tools and techniques, you can correct imperfections, enhance colors, and create consistent branding across your portfolio.
Software Recommendations
Professional editing requires robust tools like Adobe Lightroom and Photoshop, offering advanced features for color correction, background removal, and retouching. For beginners, Canva and GIMP provide accessible alternatives. Lightroom’s presets, for example, simplify bulk editing, ensuring all images have consistent tones and brightness—a crucial aspect for e-commerce platforms.
Common Editing Tasks
- Color Correction: Furniture colors must match their real-life appearance to avoid misleading customers. Adjust white balance, saturation, and contrast to achieve realistic tones. For example, ensuring a walnut table’s warm brown tones remain consistent across different lighting conditions is critical.
- Lighting Adjustments: Brighten dark areas without overexposing highlights using tools like curves or sliders in editing software. Proper lighting adjustment can make a sofa’s plush fabric appear softer and more inviting.
- Cropping and Straightening: Cropping unwanted elements and aligning perspectives ensures a clean, professional look. A slight tilt in an image can distract from the furniture’s features, so precise straightening is key.
Advanced Techniques
- Background Removal and Replacement: A cluttered or unsuitable background can be replaced with a cleaner, more relevant one. Photoshop’s “Select and Mask” feature excels in this, especially for complex shapes like chair legs.
- Adding Shadows and Reflections: Shadows provide depth and realism, while reflections can enhance sleek, modern pieces like glass tables. For instance, a faint shadow under a dining chair grounds it in the image, making it appear more natural.
- Retouching Textures: Remove imperfections like scratches or dust while highlighting desirable textures, such as leather grains or wood patterns, to enhance the furniture’s appeal.
Batch Processing for Efficiency
For large inventories, batch processing saves time. Lightroom allows you to apply a single preset across multiple images, ensuring uniform brightness, contrast, and color tones. This is particularly useful for furniture catalogs, where consistency is essential.
Photography Tips for Specific Furniture Types
Each type of furniture presents unique challenges, requiring tailored approaches to capture its best features.
- Large Pieces (e.g., Sofas, Beds): Use a wide-angle lens to capture the entire piece without distortion. Include complementary décor to convey size and scale.
- Small Items (e.g., Chairs, Side Tables): Close-ups are essential for highlighting details like intricate carvings or unique finishes.
- Reflective Surfaces (e.g., Glass, Metal): To reduce glare, use diffused lighting and polarizing filters. Reflections can be managed during editing by cloning out unwanted highlights.
Final Thoughts
Furniture photography, when done right, bridges the gap between the physical and digital worlds, allowing customers to envision products in their own spaces. The combination of thoughtful props, precise staging, and meticulous editing can elevate your images, setting your brand apart in a crowded market.
Whether you’re a budding photographer or a seasoned professional, investing in quality props, mastering editing techniques, and continuously refining your skills will pay dividends. Great furniture photography isn’t just about aesthetics; it’s about creating an experience that converts viewers into customers.