Professional
Furniture
Photo Editing & Retouching Services
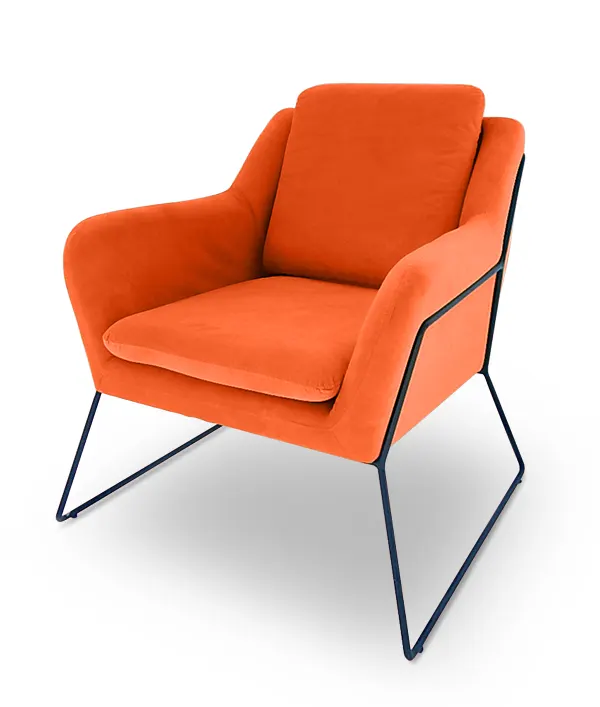
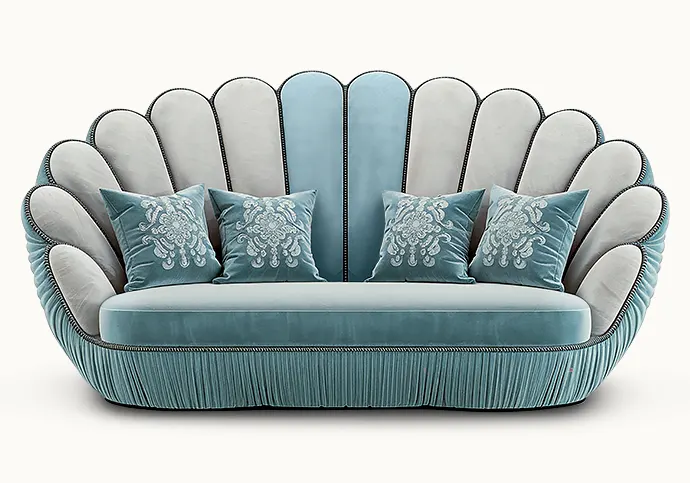
Enhance your furniture photos with our professional editing and retouching services. We specialize in background removal, color correction, decluttering, and high-end retouching to ensure your furniture looks flawless and market-ready. Let us help you create visually stunning images that boost your sales and brand appeal.
24-Hour Delivery
5,00+ Trusted Clients
100% Manual Editing
Unlimited Revisions
- What it does
Why Choose Our Furniture Photo Editing Services?
Affordable Pricing & Bulk Order Discounts
Enjoy competitive rates with special discounts on bulk orders.
100% Manual Editing + Free Revisions
All edits are done by hand, ensuring quality and offering free revisions.
ISO-Certified Quality Assurance
Our ISO certification ensures top-tier quality and consistency in every edit.
Data Privacy Guaranteed
We prioritize your privacy and handle all images with strict confidentiality.
No Minimum Order—Edit Any Image Count
Place any order size, from single images to large batches, no restrictions.
Dedicated Customer Support
Our support team is available to assist you 24/7 at every step of the process.
100% Satisfaction Guarantee
We stand by our work and offer a satisfaction guarantee on all edits
Fast Turnaround Within 24 Hours
Get your edited images quickly with a reliable 24-hour turnaround
- Your path to success
Why Your Business Needs Professional Furniture Photo Editing
0 %
High-quality visuals can reduce bounce rates by up to 20%, keeping potential customers engaged longer on your site
0 %
Businesses that invest in professional photo editing can see a return on investment (ROI) of up to 200%
0 %
90% of consumers say that visual content is a key factor in their purchasing decisions
0 %
Listings with high-quality images receive 47% more clicks than those with lower-quality visuals
0 %
High-quality furniture images can increase conversion rates by up to 30%
Furniture Photo Editing Services We Offer
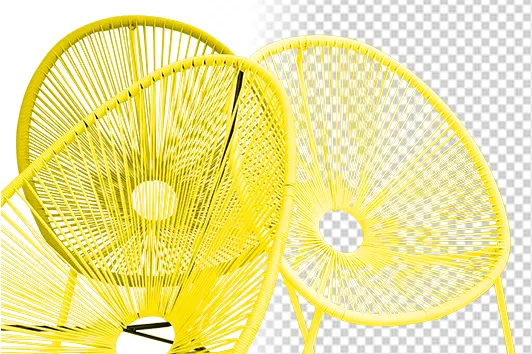
Professional Furniture Background Removal Services
Transform your eCommerce furniture photos with expert clipping path services. Our precision background removal creates clean, transparent, or white backgrounds, meeting marketplace standards for Amazon, Wayfair, and other platforms.
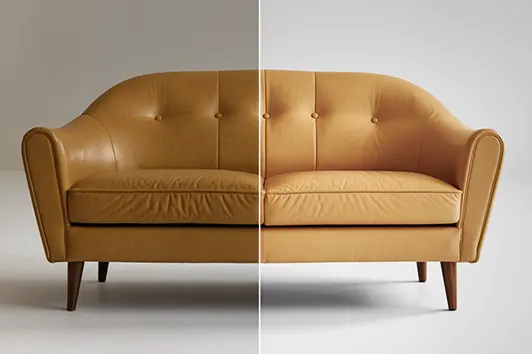
Furniture Photo Color Correction & Enhancement
Expert color matching and white balance adjustment ensure true-to-life furniture representation. Our professional retouching delivers consistent wood tones, fabrics, and finishes across your product catalog, reducing returns
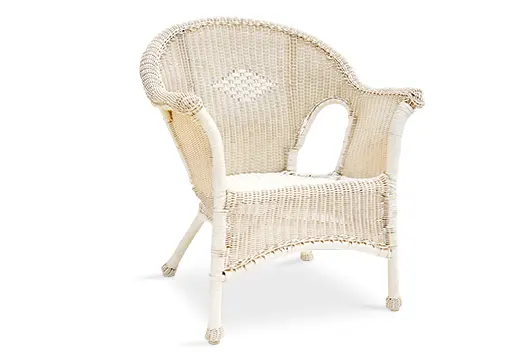
Professional Shadow Creation & Reflection Effects
Enhance product photos with natural-looking drop shadows and reflections. Our Photoshop experts create realistic 3D effects for furniture images, perfect for eCommerce listings and digital catalogs.
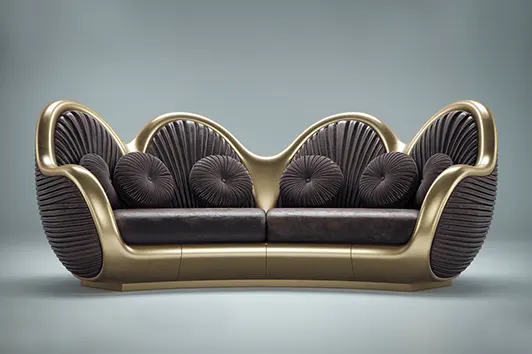
Luxury Furniture Image Retouching
Transform product photos with professional blemish removal and enhancement. Our detailed retouching eliminates scratches, dust, and imperfections, delivering showroom-quality images for high-end furniture catalogs.
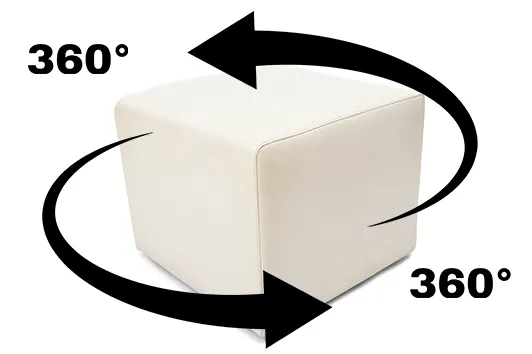
360-Degree Furniture Photography Enhancement
Optimize interactive product views with professional 360-degree photo editing. Our comprehensive spin photo service ensures consistent quality across all angles, boosting online sales.
Can’t find what you are looking for?
Our Additional Services
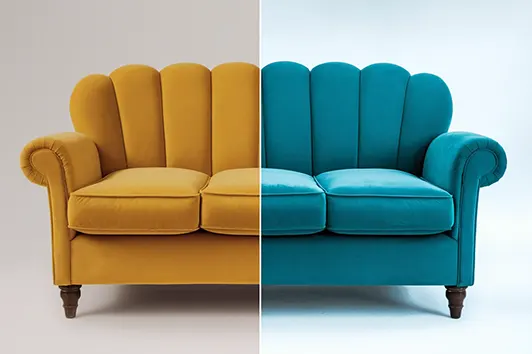
Furniture Color Variation Services
Expand your product range efficiently with professional color change services. Create multiple furniture variations from one photo, perfect for showcasing different finishes and materials in online stores.
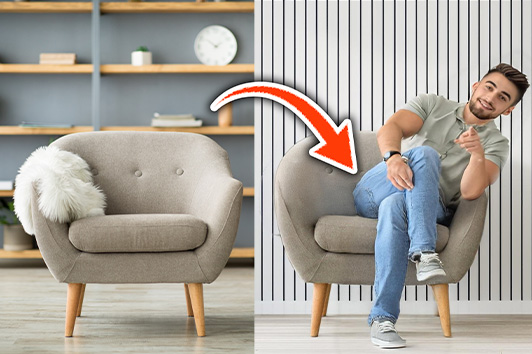
Furniture Photo Manipulation & Lifestyle Creation
Create compelling lifestyle scenes with advanced photo manipulation. Our experts combine furniture products with room settings, delivering engaging visual content for eCommerce platforms.
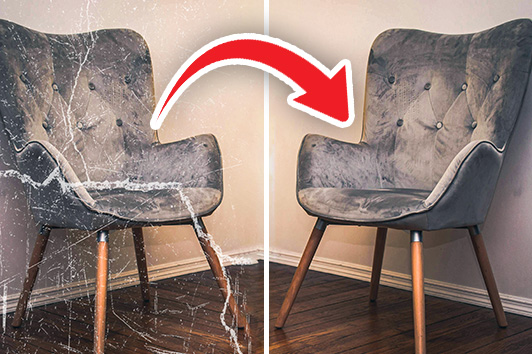
Vintage Furniture Photo Restoration Services
Revitalize antique furniture photographs while preserving authenticity. Our restoration experts repair damaged images and enhance details for online antique stores and collectors.
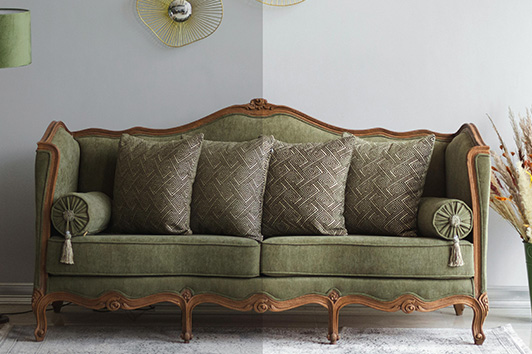
Photography Lighting Enhancement
Perfect your product presentation with expert lighting adjustment. We optimize shadows, highlights, and contrast to showcase furniture details and materials in their best light
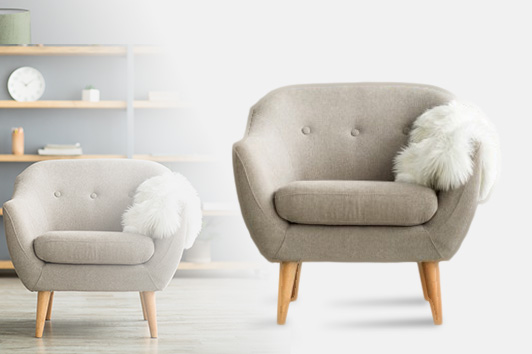
eCommerce Furniture Image Optimization
Maximize online performance with specialized image formatting. Our optimization service ensures quick loading times and visual quality across all digital marketplace platforms.
Are you looking for additional services
- Work Process
How we works
A simple and efficient process to transform your furniture images with high-quality editing. Fast, reliable, and tailored to your needs
- Pricing
Our Furniture Photo Editing Service Prices
Basic Editing
$.50
/image
Essential edits for clean and professional furniture photos
- Clipping path
- Background removal
- Transparent background
- White backdrop
- Cropping, resizing
- Straitening, right measurement
Standard Editing
$1
/image
Enhanced details with exposure adjustments and shadow creation for a more refined look
- Everything in Basic, plus:
- Basic shadow creation
- Dirt and spot removal
- Custom solid color background
- Perspective correction
- Image exposure improvement
Professional Editing
$2
/image
High-quality corrections with backdrop, color, and style refinements
- Everything in Standard, plus:
- Backdrop retouching & refinements
- Light and contrast enhancements
- Color correction & adjustments
- Background extension
- Furniture texture & fabric retouching
- Match the desired style using reference images
High End Editing
$3
/image
Advanced, premium retouching with creative and aesthetic enhancements
- Everything in Professional, plus:
- Full background replacement
- Multi-dimensional shadow addition
- Premium product retouching
- Full beauty enhancements.
- Adding decorative elements
- Creative image composition
- Advanced reference-based editing for precise customization
- Creative presentation of images
TESTIMONIALS
What people say about us

Simple process, amazing results. They understood my style perfectly. My online store looks professional now
Mike Taylor
Furniture Retailer

I was really struggling to make my furniture look good online, but this service made them shine! The colors are so vibrant now
Chris Harsh
Marketing Manager

I’m no photo expert, but they made my furniture look stunning. Easy communication, and the edits were spot-on!
Angela Taylor
Marketing Manager
Can’t Make Up Your Mind?
Experience Our Expertise Risk-Free
We believe in the transformative power of high-quality furniture photo editing, and we want you to see it for yourself. That’s why we’re offering 5 FREE edits on your first submission—no purchase necessary! Whether you need background removal, color correction, or any other editing service, this is your chance to experience our professional touch

Get Your 3 Free Edits
Furniture Photo Editing Samples
Featured Blog Posts
- FAQs
Frequently Asked Questions
Who can benefit from your furniture photo editing services?
Our services are ideal for furniture manufacturers, online retailers, interior designers, photographers, and anyone looking to present furniture images professionally on e-commerce platforms, catalogs, or marketing materials.
How does your furniture photo editing process work?
Simply upload your images and provide us with specific editing requirements. Our expert editors will work on your images and deliver high-quality results within the agreed timeframe.
Why should I choose your services over others?
We specialize exclusively in furniture photo editing, ensuring unmatched expertise in this niche. With affordable pricing, quick turnaround times, and a satisfaction guarantee, we are committed to delivering the best results for your business.

